
Kitchen:How to solve a problem like a brand new kitchen


This blog post is about how our brand new kitchen got a an entire overhaul! If you want to the afters don’t miss visiting here. If you want to see more before’s and the process, read below.
When we moved into this house, it had just been slowly renovated from a 1950’s home to a more open floor plan. The kitchen was brand new and in fact the home came without hardware etc. as we would be able to choose all of the final finishes.
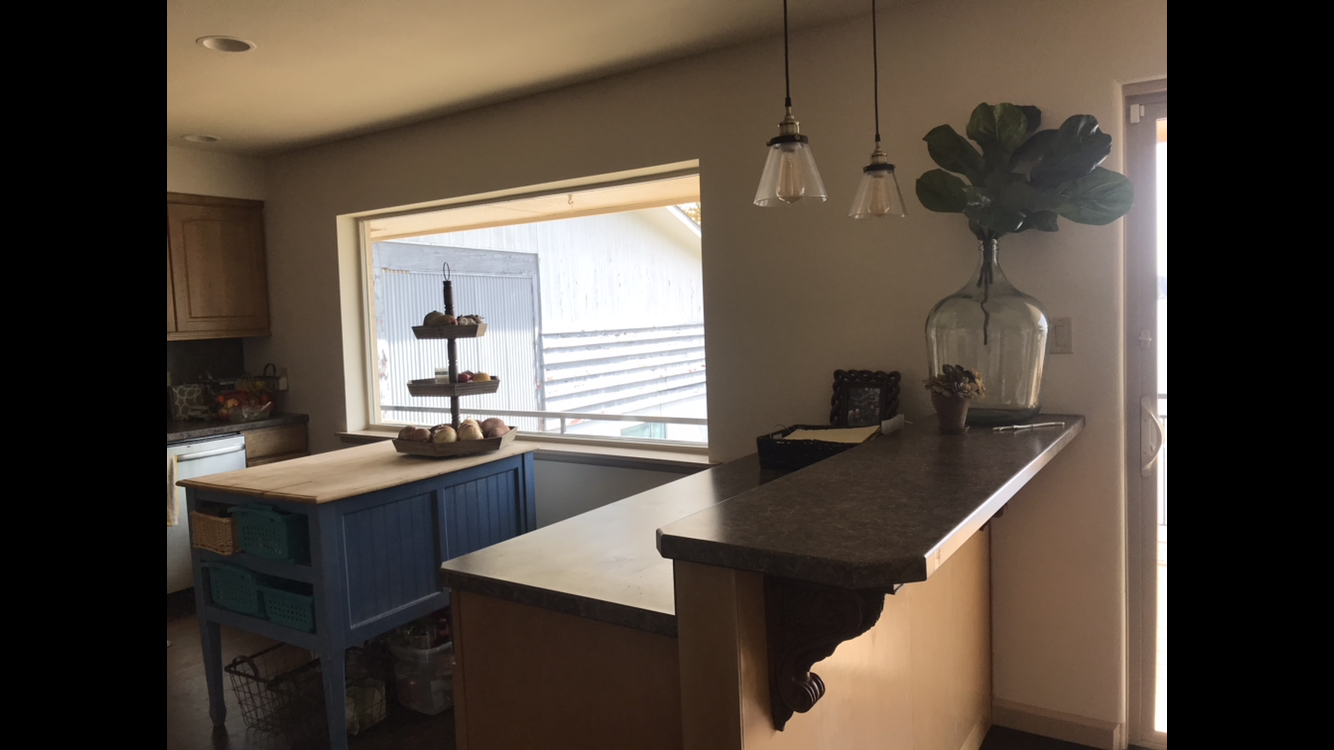
We felt terrible ripping out a brand new kitchen, but it simply wasn’t functional, fun to cook in, or beautiful. Even though there was a large window, the view went unnoticed. In all of my before pictures below, there is a lot of clutter, because there was never enough functional storage.
If throwing out a brand new kitchen seems horrible to you, it did to us too, but fortunately we we were able to use most of these by creating a second kitchen downstairs perfect for summer cooking.


Cabinets
I had considered just painting the cabinets, and replacing the countertops and tiling, but this kitchen just simply neglected the view in every way and lacked storage and functionality (painting brand new wood cabinets also felt terrible to me). Relocating the sink to the window meant moving the plumbing, but it was worth it. I spent awhile mocking up the kitchen in the Ikea kitchen designer to get a feel for what I wanted, but ultimately, I decided to go with a blend of custom and standard size cabinets. Read more about our cook-in cabinets below and how I added a pantry with power to the layout.
Color
Choosing the cabinet color was one of the most crucial decisions. I painted it on large pieces of plywood and moved it around day and night as the color changes so much based on the daily and seasonal light.
Process
Once demo began, as most people know, the hardest part of a kitchen remodel is living without a kitchen. I highly recommend a summer reno, as the BBQ with an extra gas burner was a lifesaver.
We had huge cabinet boxes in our living room for some time, and at the time I was ready to pop with my third child, so the clock was ticking to get this finished. Although the kitchen was mostly finished before she was born, the last can lights were fixed when my daughter was 6 days old, so we almost made the deadline.
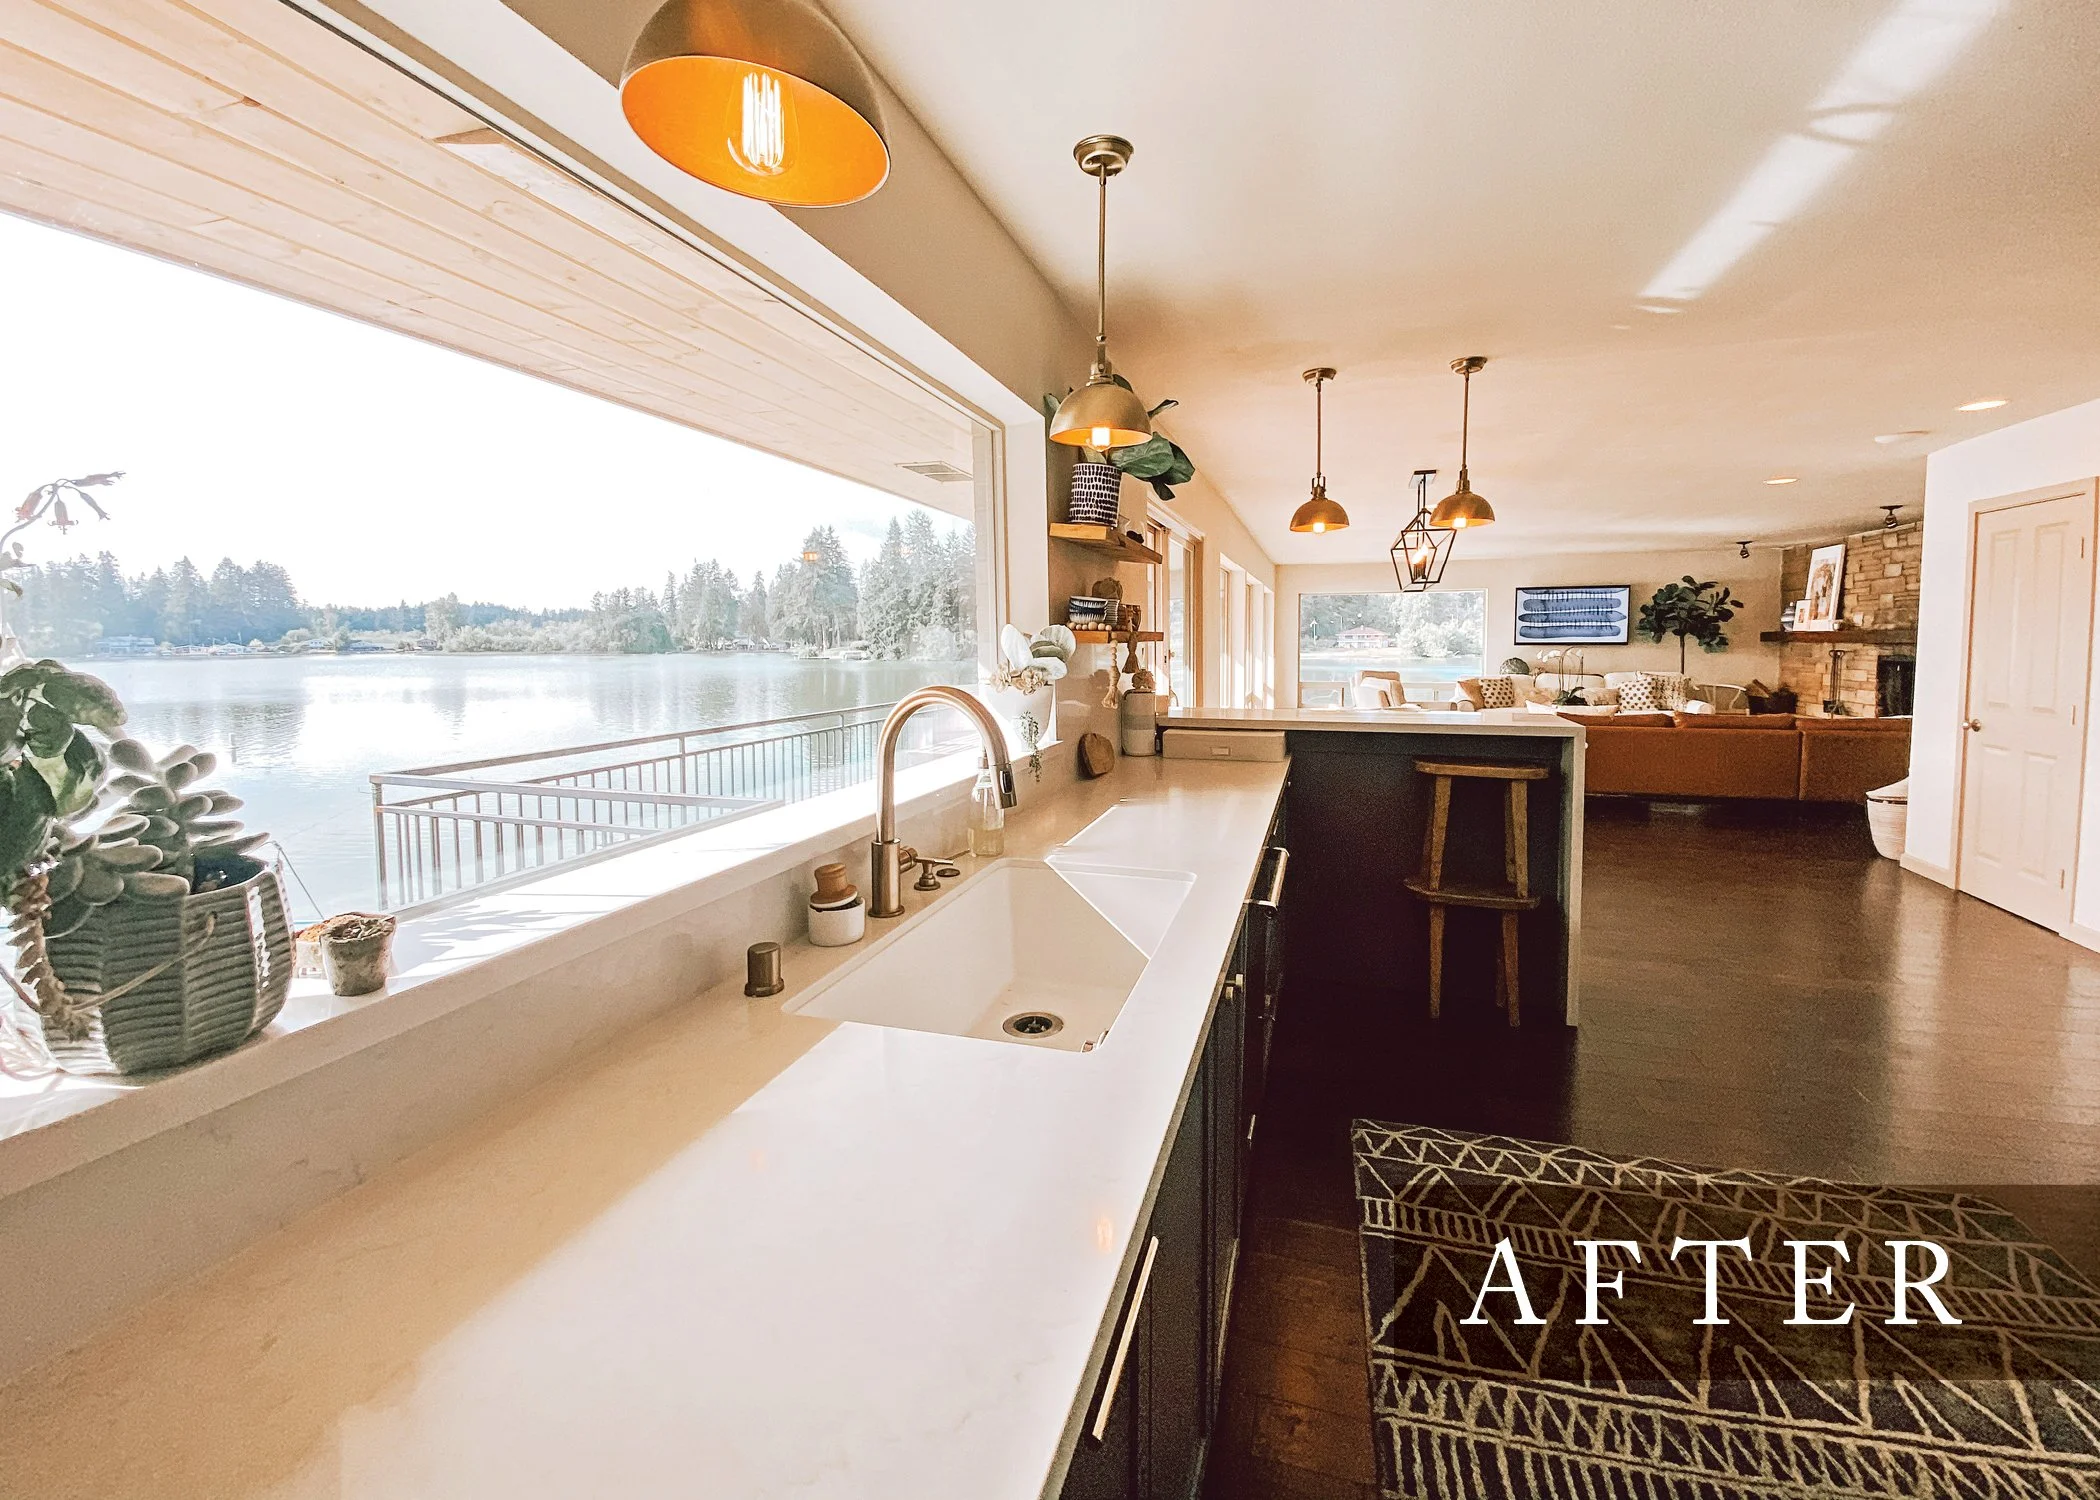
I opted for a super large sink since I am one of those people who likes to push away my problems until later and this has proved invaluable. A side drain allows for dishes to be washed on the right while my pile of problems can sit undisturbed on the left. The faucet was pricey, but there is really no way around that one and matching drain allows the sink to be filled.
Choosing to do granite slab backsplash and ledge was actually not the budget breaker one might expect. I found a granite yard that had great prices, and if you are paying to have the guys come out and cut it, you might as well have them for a few more hours, the prices weren’t that different than tiling when all was said and done. For our downstairs kitchen we were able to purchase remnants at a fraction of regular prices. I can’t recommend enough getting that extra holes drilled for a soap dispenser and garbage disposal button.


We installed the floating shelves ourselves by using 8” solid wood boards from Home Depot (I found some beautifully knotty pieces) that we stained and attaching them with floating brackets. They rest right at the top of the granite slab.


Since I am obsessed with functionality, I designed each storage section to fit our needs, but the highlights are for sure the cook in cabinets, and the plug in corner pantry.
Cook-in Cabinet
We moved into this house after living in Japan for several years. Most kitchens in Japan have a rice-cooker drawer, this is a drawer that your rice cooker lives in permanently, and is pulled out when it is cooking and steam is released and pushed back in when it is just sitting with a nice full bow of rice (which is most all the time). I decided to take this concept to the next level, and incorporate pull out drawers with pocket cabinets. This means the cabinets slide all the way back in to the wall. I made sure of course to have power in the back of this cabinet, this way my appliances can be tucked away but easily pulled out while cooking. Each of the three shelves has a power strip that can be turned off if I don’t want to use any of the appliances.
Vertical storage below holds all of my serving trays and cooking trays in their respectively useful locations.


Corner Pantry
The original kitchen had one small corner shelf that I was using for pantry storage. Since this house doesn’t have a full pantry (it does have a hall closet, but this has other functions and is not large.)
I decided I would squeeze a thin pantry into the corner. It doesn’t seem like enough space for a pantry, but when you look below at the actual pantry cabinet you can tell, it fits a lot. We cut a small notch in the stone so the hinged door could open all the way.
I made sure to have power located in the back of this cabinet as well so it could house my cordless vacuum, which any mom knows, is worth the valuable space it takes up. Being able to pop it off its charger right there in the kitchen is a feature I use every day. This accessory holds everything in place, I affixed it to the cabinet wall using alien tape, which is surprisingly super strong!


Storage
Storage and functionality are extremely important to me. Cups and plates are located in pull out drawers next to the dishwasher for easy unloading, even by kids! Under the induction cooktop a thin drawer pulls out with cooking utensils, and pots and pans are located below. Spices and oils are stored in the shelves above the cooktop for easy access. Plugs under these cabinets allow for appliance plug in here too if we want to bake or use and immersion blender at the cooktop. Since I want to keep my counters clutter free, fruit are stored in airy bins in pull out shelves also. Hidden power strips are under the kitchen return and in the main “junk” drawer so electronics can be plugged in and hidden out of sight.


This post is missing the best stuff which is the completed kitchen, check it out here!